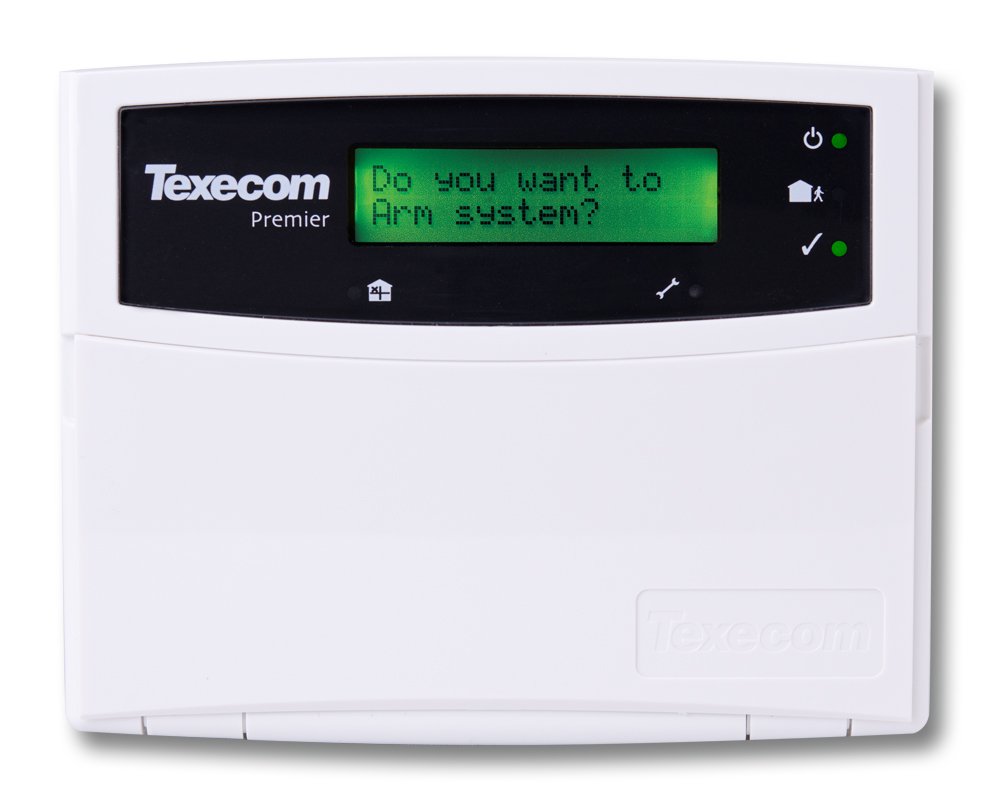
A user guide to the main functions of the
Texecom Premier alarm panel, including how to set and unset your alarm and trouble-shoot.
Full set alarm
Enter your four digit user code (e.g. 1234) and the screen with display “Welcome Back” followed by “Do you want to arm system?” press [YES]. This option will arm all the sensors in your premises.
Part Set Alarm (with only 1 part set programmed)
Enter your four digit user code (e.g. 1234) and the screen with display “Welcome Back” followed by “Would you like to arm system?” press [PART]. Use keys [1]-[3] to select the required part you want, and then press [YES] to arm normally or press [CHIME] to arm silently.
Full Set a specific Area of the Alarm
Enter your four digit user code (e.g. 1234) and the screen with display “Welcome Back” followed by “Would you like to arm system?” press [AREA]. Use keys [1]-[8] to select the require area to arm then press [YES] to fully arm the chosen area.
Part Set a specific Area of the Alarm
Enter your four digit user code (e.g. 1234) and the screen with display “Welcome Back” followed by “Would you like to arm system?” press [AREA]. Use keys [1]-[8] to select the required area to arm then press [PART] . Use keys [1]-[8] to select the require part arm then press [YES] to part arm the selected area normally or press [CHIME] to arm silently.
Unset alarm
Enter your four digit user code (e.g. 1234) . If disarming when not on entry after alarm is set, the system will display “Do you want to disarm system?” Press [YES] to disarm.
Reset Alarm after activation
Enter your four digit user code (e.g. 1234) to display which zone(s) activated, then press [RESET]
Change your own code
Enter your four digit user code (e.g. 1234) and press [MENU] then [YES] to enter the user menu. Use the [ARROW BUTTON] until the display reads “Change User Code?” then press [YES] . Enter your new code and press [YES] to confirm. The system will chime to confirm the change, then press [RESET] to exit user menu.
Temporarily bypass a zone when arming
Enter your four digit user code (e.g. 1234) , then press the [OMIT] button. Enter the zone number(s) you want to bypass, then press [OMIT] again for each zone you wish to bypass. When finished selecting all the zones to be bypassed, press [MENU] and the system will return to displaying “Do you want to arm system?” again. Follow the arming procedure you wish to use.
Turn chime facility on/off
Press [CHIME]. The system will sound the chime tone when chime is turned on and an error tone when chime is turned off.
Change which zones chime
Enter your four digit user code (e.g. 1234) and press [MENU] then [YES] to enter the user menu. Use the [ARROW BUTTON] until the display reads “Edit Chime Zones” then press [YES] . Enter the zone numbers to include in the chime and press to [NO] cycle through chime options. Press [MENU] to finish then [RESET] to exit user menu.
Check sensors are working correctly (walk test)
Enter your four digit user code (e.g. 1234) and press [MENU] then [YES] to enter the user menu. Use the [ARROW BUTTON] until the display reads “Do Walk Test?” then press [YES] . Use keys [1]-[8] to select the require area(s) to walk test then press [YES] . The system is now in walk test mode.
N.B. It is advisable to perform this test with 2 people – one person watching the keypad and one person walking round the property. The screen will display which sensors have activated. When you have completed the walk test, press [MENU] to finish then [RESET] to exit user menu.
View the event log
Enter your four digit user code (e.g. 1234) and press [MENU] then [YES] to enter the user menu. Use the [ARROW BUTTON] until the display reads “View system log?” then press [YES]. Use [ARROWN BUTTON] to scroll up and down through the log. Press [AREA] to toggle between the area information and time/date. Press [PART] to display zone test (where applicable). Press [MENU] when finished then [RESET] to exit user menu.
Set System Time
Enter your four digit user code (e.g. 1234) and press [MENU] then [YES] to enter the user menu. Use [ARROW BUTTON] until the display reads “Set System Time?” then press [YES]. Enter the new time HH:MM (24-hour format). Press [RESET] to change between BST and GMT. Press [YES] when finished then [RESET] to exit user menu.
Set System Date
Enter your four digit user code (e.g. 1234) and press [MENU] then [YES] to enter the user menu. Use [ARROW BUTTON] until the display reads “Set System Date?” then press [YES]. Enter the new date DD/MM/YY. Press [YES] when finished then [RESET] to exit user menu.
For full a full user-guide, you can download the official
Texecom Premier user-guide here [.pdf download]
Still, need help?
If you still need help with your Texecom Premier alarm system, then get in contact with our team to see if
we can help you >>
Or if you know you need an engineer then book an ‘on-site visit’ where one of our trained engineers comes out to your site to fix your problem.
Book an engineer visit here or email us at
help@smartsecurity.support


COMMENTS